
How to Upload & Apply JSON Animation
After completing the installation/import process of the Elite Elementor Template Kit, the next step is to upload and apply the JSON animation file.
The animation JSON file is included in the provided ZIP package.
Steps to Upload & Apply JSON Animation
1. Upload the JSON File to WordPress Media
Go to Media → Add New and upload the JSON file.
If you encounter the error message:
“filename.json – This file cannot be processed by the web server.”

This means your server/hosting does not support JSON file uploads by default. You will need to enable JSON upload support using a code snippet.
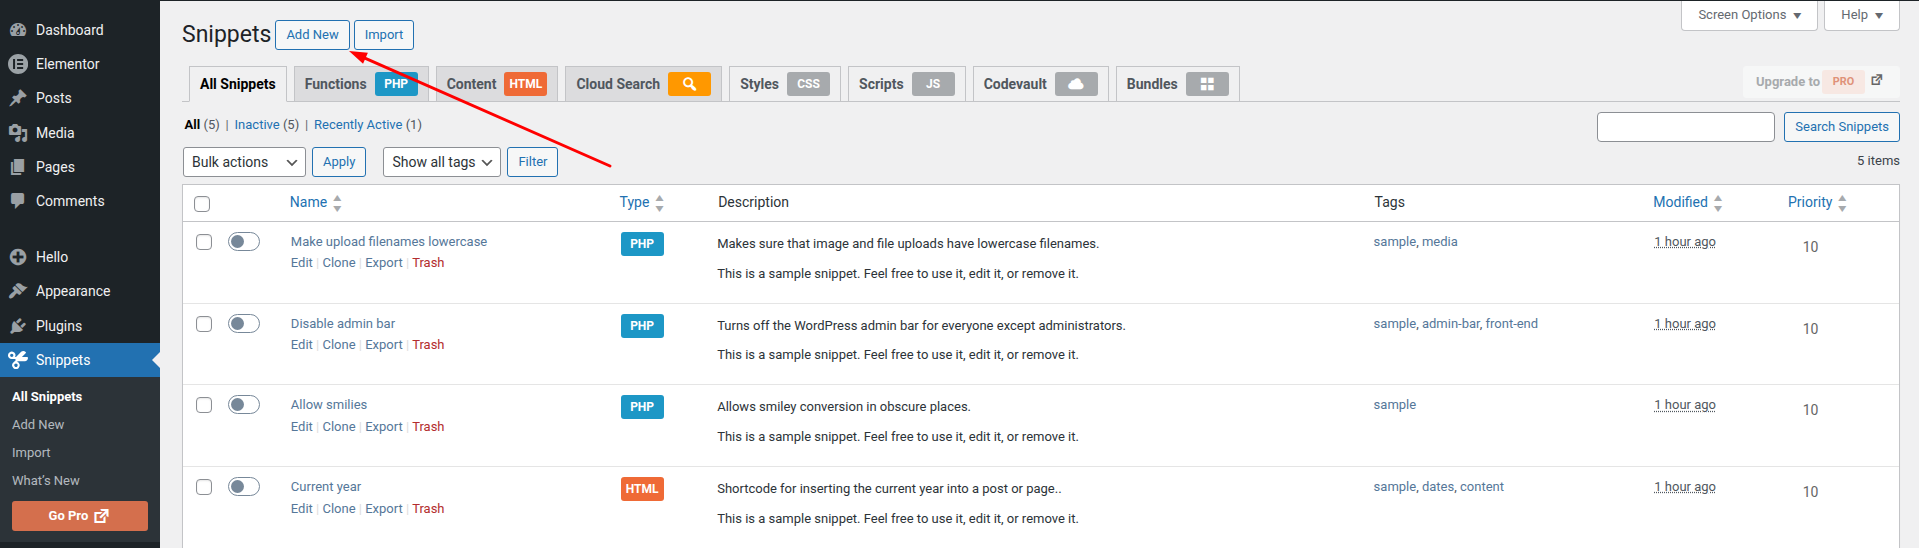
2. Install and Activate the Code Snippets Plugin
Go to Plugins → Add New, search for Code Snippets, then install and activate it.

3. Add the JSON Upload Support Code
-
Click Add New
-
Enter a title for the snippet (e.g., Enable JSON Upload Support)
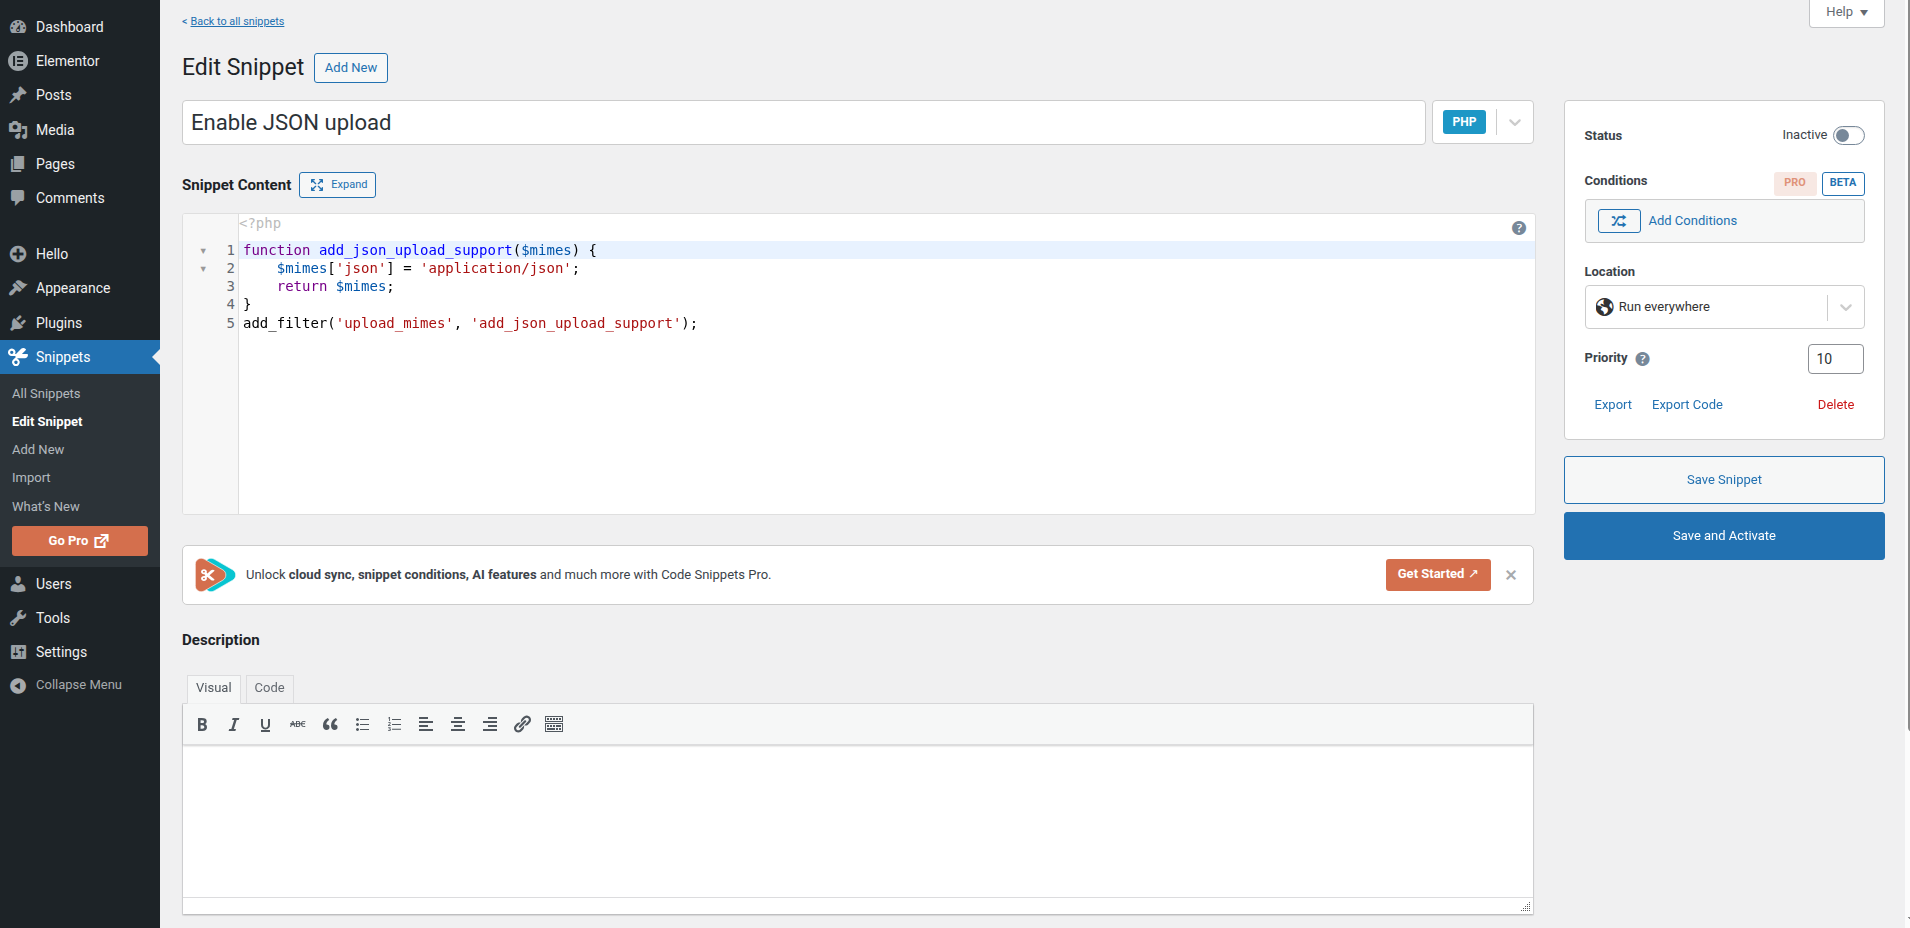
- Copy and paste the following code:


function add_json_upload_support($mimes) {
    $mimes['json'] = 'application/json';
    return $mimes;
}
add_filter('upload_mimes', 'add_json_upload_support');
-
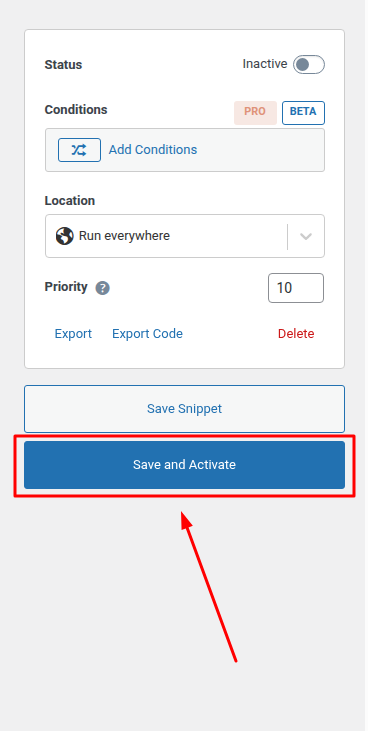
Click Save & Activate

4. Edit the Page Containing the Animation
Go to the page that includes the animation and click Edit with Elementor.

5. Apply the JSON File
-
Copy the URL of the uploaded JSON file (from Media)

-
Paste the JSON file URL into the HTML element (or animation field, depending on the template setup)
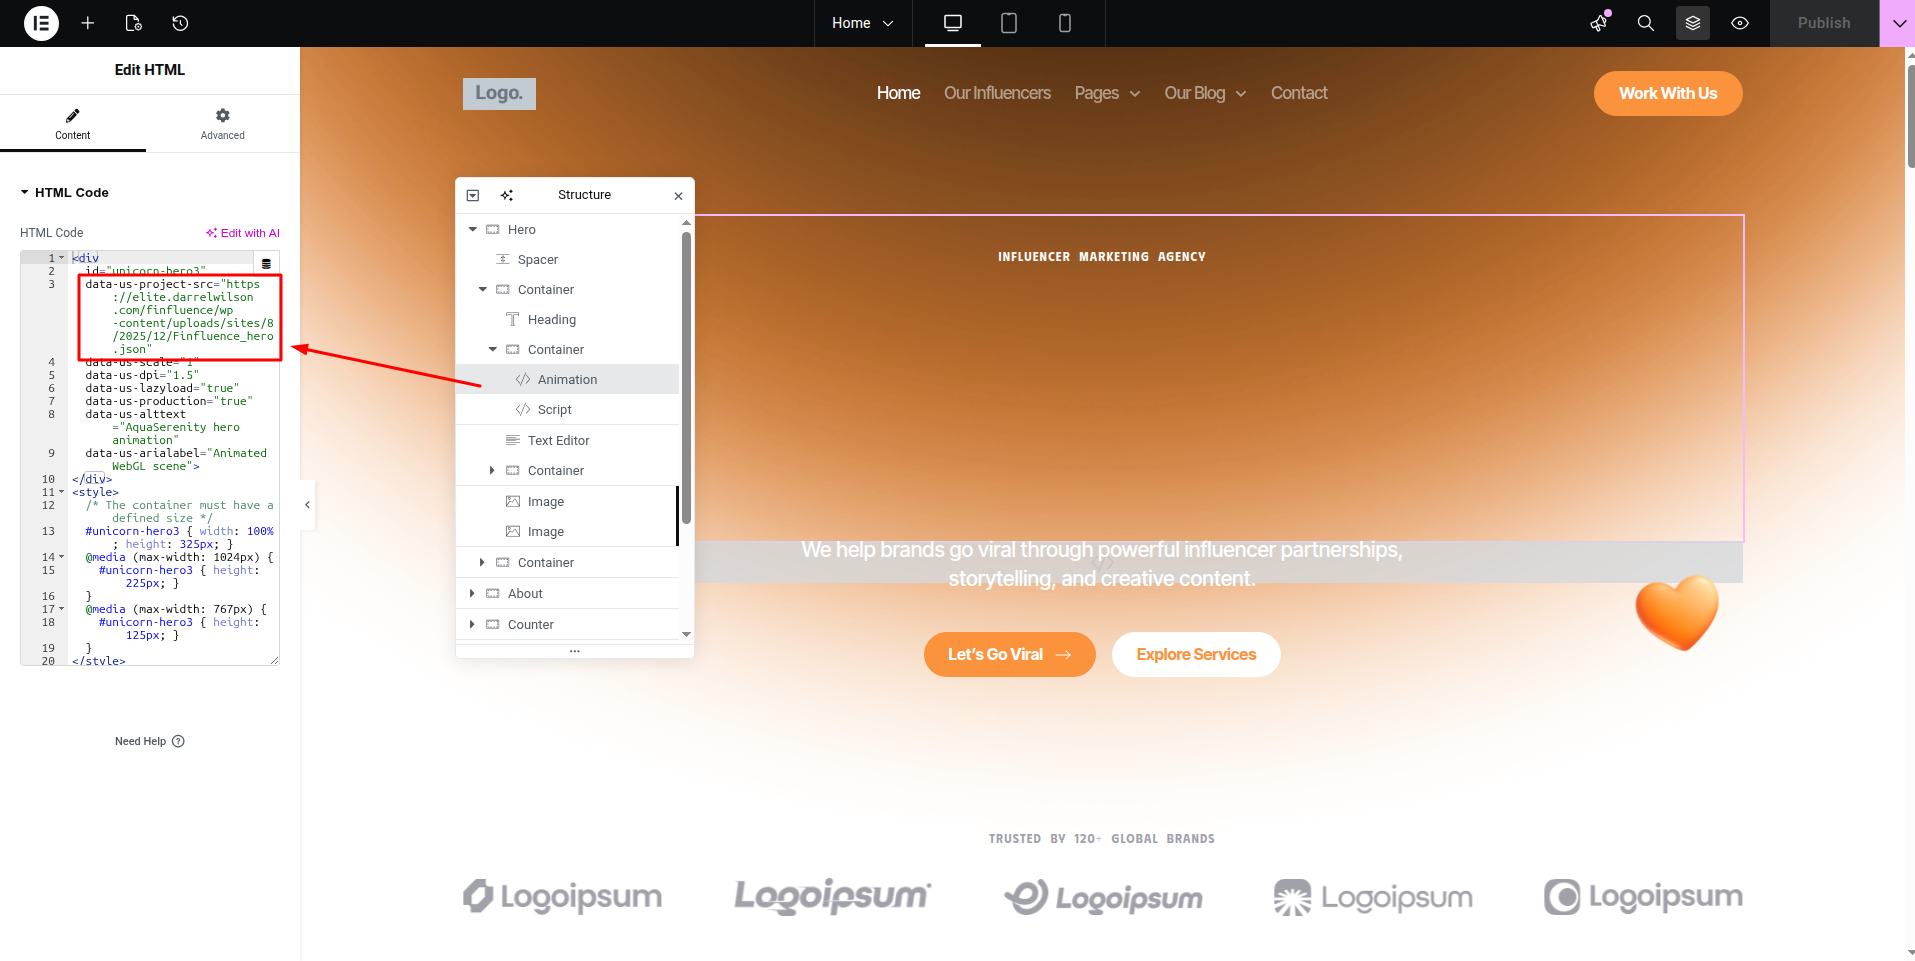


6. Click Publish

7. Done
Your animation should now appear correctly on your website.

Note: The next step is to customize the JSON animation as needed.